
Setting Up a Red Light Therapy Space at Home: What You Actually Need
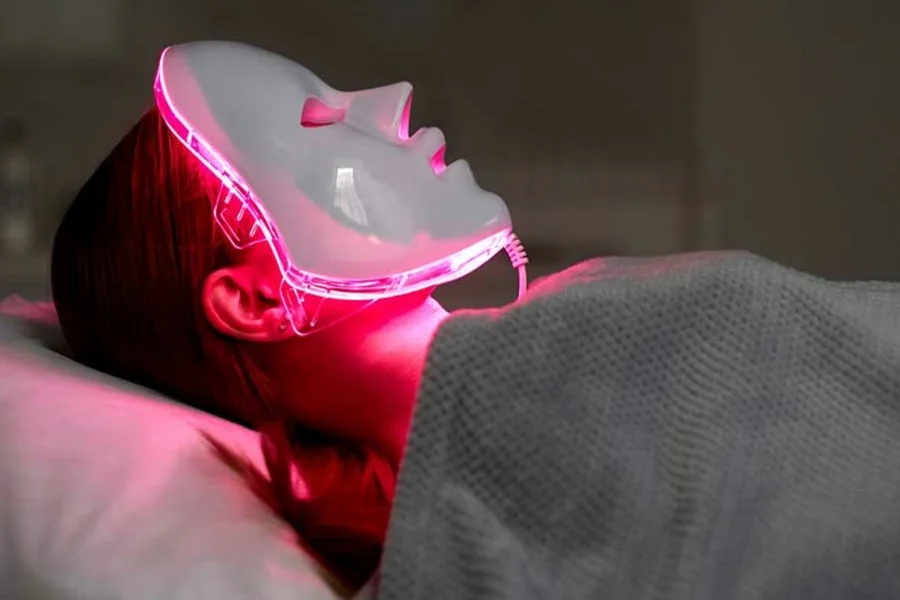
People often assume a light therapy routine requires a dedicated corner of the bathroom, a mirror with perfect lighting, and a permanent setup. In reality, the actual requirements are much simpler, and knowing what genuinely matters versus what is just nice-to-have makes it far easier to get started without overthinking the logistics.
The Only Non-Negotiables
A stable surface or a comfortable way to hold the device, a mirror if your device requires positioning, and a spot with a nearby outlet if the device is not fully cordless. That is close to the full list. Everything else, a dedicated shelf, a specific room, elaborate lighting, is optional convenience rather than a genuine requirement for the treatment to work.
Why Consistency Matters More Than the Setup Itself
Red light therapy at home works because of repeated, regular exposure over weeks, not because of an elaborate ritual environment. A simple, low-friction setup that you will actually use several times a week outperforms an elaborate one that feels like a production every time. If setting up feels like a chore, that friction alone can be enough to derail an otherwise promising routine.
Bathroom Counter Versus Bedroom Nightstand
Many people default to the bathroom, since that is where most skincare already happens. But a nightstand setup, paired with an evening wind-down routine, works just as well and may actually be more comfortable for handheld devices that do not require standing at a mirror. There is no single correct location, only the one that fits naturally into where you already spend a few minutes each day.
Lighting in the Room Itself
It is worth noting that ambient room lighting does not meaningfully interfere with a device’s treatment effect, the device’s own output is what matters, not whether the room around you is bright or dim. This means you do not need special room lighting conditions, a dim room in the evening works just as well as a bright bathroom in the morning.
Storage Between Sessions
Devices left out on a counter are more likely to get used consistently, but they also collect dust and product residue faster. A simple habit of wiping the treatment surface down after each use, and storing the device somewhere it will not get knocked around, protects the investment without requiring a dedicated storage solution. Our small-space skincare storage ideas cover a few practical, low-cost options if counter space is tight in your bathroom.
Safety Considerations Worth a Quick Check
Before settling into a routine, a brief safety check is worthwhile. According to guidance on safe home use of light-based devices, factors like proper eye protection, appropriate distance from the skin, and awareness of any photosensitizing medications you may be taking are worth reviewing before establishing a long-term habit, even for devices generally considered low-risk.
What You Do Not Need
A few things people sometimes assume are necessary but are not: a specific temperature-controlled room, blackout curtains, or an elaborate skincare fridge setup. None of these affect how the device performs. Spending money or effort on them is optional at best and, more often, simply unnecessary.
Building the Habit Into an Existing Routine
The most reliable setups are the ones piggybacking on something you already do daily, brushing your teeth, watching the evening news, scrolling before bed. Treating the session as an addition to an existing habit removes the need to build an entirely new environment or ritual from scratch.
Traveling or Temporary Setups
If you are staying somewhere temporarily, a hotel, a family member’s house, the same minimal requirements apply. A flat surface, an outlet if needed, and a few unclaimed minutes are enough to keep a routine going, even far from your usual setup at home.
Sharing a Bathroom or Living Space With Others
For people sharing a bathroom or living space, a portable, easy-to-put-away device tends to cause far less friction than one that requires claiming a fixed spot indefinitely. A simple habit of storing the device in a small bag or drawer between sessions keeps shared spaces uncluttered while still keeping the device accessible enough to grab for a quick session. This small accommodation can be the difference between a routine that survives living with roommates or family and one that quietly gets abandoned because it felt like it was taking over shared space.
What a First Week Setup Actually Looks Like in Practice
For someone starting out, a realistic first week involves picking one consistent time slot, keeping the device charged and within reach, and resisting the urge to overthink the surrounding environment. Once the basic logistics are sorted in the first few days, the setup itself largely fades into the background, and the routine becomes less about the space and more about simply showing up consistently.
The Bottom Line
A red light therapy setup at home does not need to be elaborate to be effective. What actually matters is a simple, low-friction space that fits naturally into your existing routine, since consistency over weeks is what drives results, not the sophistication of the environment you have built around it.